How to Weld Quarter Turn Dzus Tabs onto Roll Cage Tubing
Share
Whether you're mounting aluminum body panels, interior tins, or custom access doors, Dzus tabs are a racecar fabricator’s best friend. They're small, lightweight, and when installed properly, allow for fast panel removal and solid retention. But welding Dzus tabs to round roll cage tubing can be a bit tricky—especially when you're trying to get them positioned just right.
Here’s a step-by-step guide to get it done right the first time.
🔧 Tools & Materials You’ll Need
- Dzus tabs (steel or aluminum, depending on your setup)
- Dzus buttons and springs (matched to tab size)
- Roll cage tubing (typically 1.250", 1.500", or 1.625" DOM or chromoly)
- Chassis Speed Jig or Dzus tab locator (optional but highly recommended)
- MIG or TIG welder (depending on your tab/tube material)
- Angle grinder with flap disc
- Center punch and hammer
- Clamps or magnets
- Safety gear (gloves, helmet, jacket)
Step 1: Prep the Tubing
Start by cleaning the section of tubing where your Dzus tab will mount. Use a flap disc or wire wheel to remove paint, rust, or mill scale. You want shiny, bare metal for a solid weld.
👉 Pro Tip: If you're mounting to chromoly, use acetone to clean the area thoroughly—it's sensitive to contamination.
Step 2: Fit the Tab to the Tube
Dzus tabs are flat, but roll cage tubing is curved. That means you’ll either:
- Grind a saddle into the back of the tab to match the tube diameter, or
- Use a pre-cut tab with a tube-specific curve (huge time-saver)
Line it up where you want it and check that the tab lays flush. A poor fit means a weak weld.
Step 3: Use a Jig or Fixture
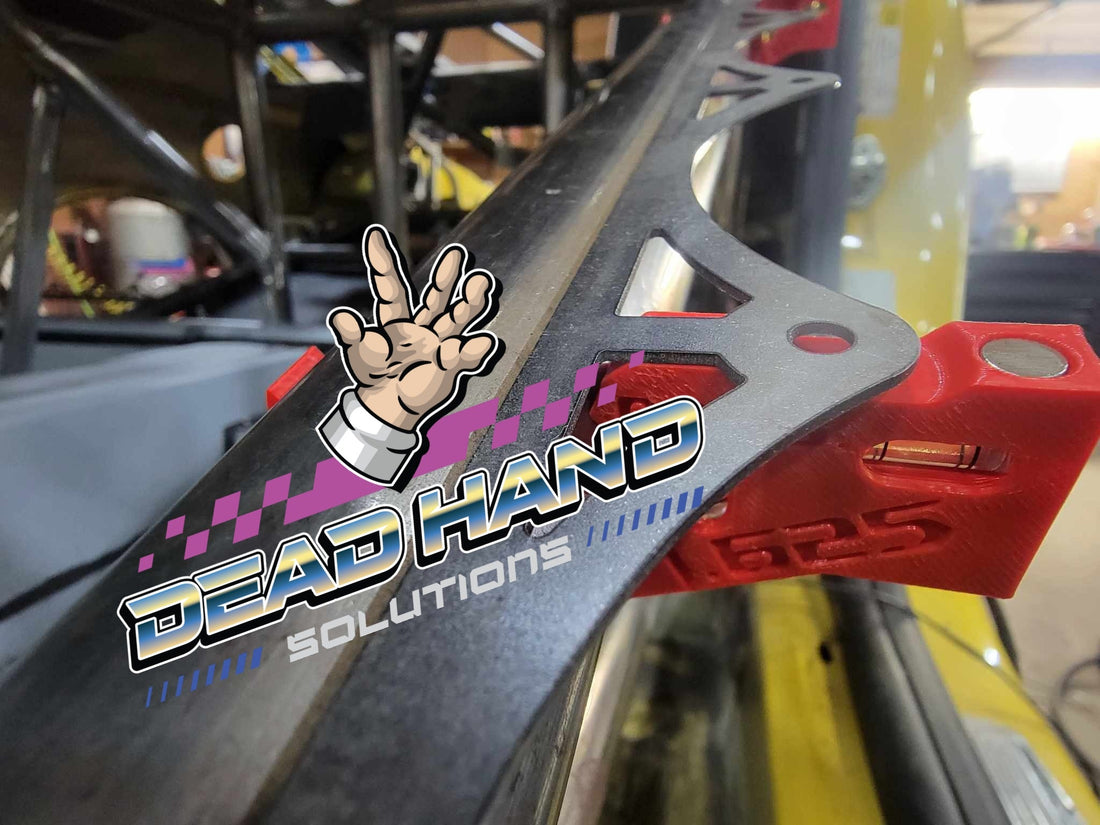
Holding a Dzus tab in place while tacking is like threading a needle with oven mitts—unless you're using a Speed Jig. A jig like the Dead Hand Solutions Chassis Speed Jig can clip onto your tubing and hold the tab in perfect position, hands-free.
- No more tape, magnets, or guessing.
- Perfect alignment every time—horizontal, vertical, even upside down.
If you're not using a jig, at least use clamps and a center punch to make sure the hole placement is accurate.
Step 4: Tack Weld
With your tab in place:
- Set your welder for thin gauge material (typically 0.060"–0.125").
- Tack both sides of the tab with quick, clean tacks.
- Check alignment again before fully welding.
👉 If your tab warps during tacking, stop and refit before continuing.
Step 5: Fully Weld the Tab
Once it’s tacked and aligned:
- Weld all the way around, or just stitch weld depending on your spec.
- Avoid overheating thin tabs—they’ll warp fast and lose strength.
- If you’re TIG welding, aim for a consistent bead with low amperage.
If you’re doing a lot of tabs, take your time and avoid stacking heat into one area.
Step 6: Test Fit Your Panels
Before moving on, always test fit the Dzus button and spring with your panel. Make sure:
- The tab hole lines up with the spring hole
- The panel sits flush with the tubing
- The button has proper tension and clicks securely
Small tweaks now save big headaches later.
Final Thoughts
Installing Dzus tabs is one of those tasks that separates a clean chassis build from a hacked-together mess. With the right prep, a jig for precision, and some patience, you’ll get tabs that look sharp and perform even better.
If you're doing more than a few, consider investing in a tool like the Chassis Speed Jig—especially if you're working one-handed or solo. It'll save you time, sanity, and give you perfect repeatable results.
Need Dzus tab jigs or precision fab tools?
Check out DeadHandSolutions.com for game-changing tools built by fabricators, for fabricators.